General
Converter
How to Convert a World
LCE to Java
Java to LCE
LCE to Bedrock
Pruner
How to Convert a Minecraft World from PS3 to Bedrock
Don't let your cherished collection of nostalgic worlds gather dust alongside your console.
Honor them with a conversion to a modern format rich with updated blocks and features.
The Universal Minecraft Tool makes it easier than ever to convert your PS3 worlds with the built-in USB support.
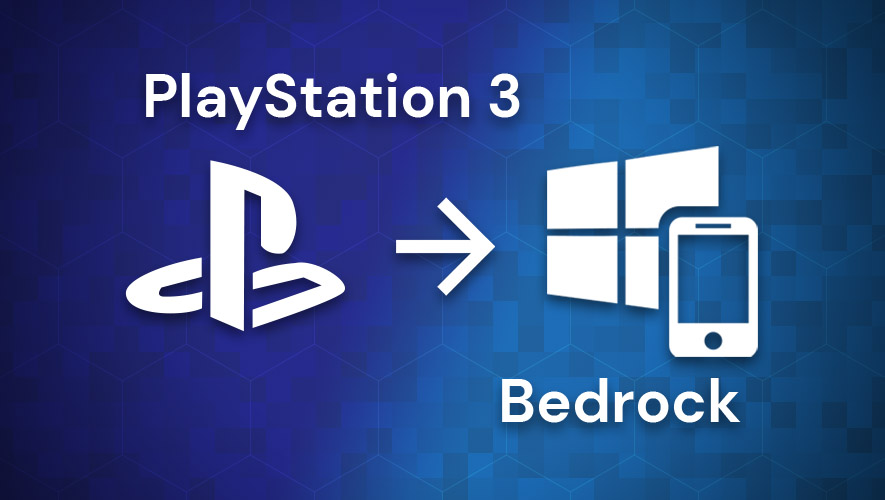
Table of Contents:
- Step 1: Open the Input PS3 World
- Step 2: Select Bedrock as the Output Edition
- Step 3: Conversion Options
- Step 4: Convert
- Step 5: Save the Bedrock World
- Step 6: Transfer and Play
Step 1: Open the Input PS3 World
To begin, you'll need to tell to the UMT which world you're trying to convert.
Follow this guide to Open a PS3 World in the Universal Minecraft Tool
Step 2: Select Bedrock as the Output Edition
Click Bedrock to select it as the target output edition.
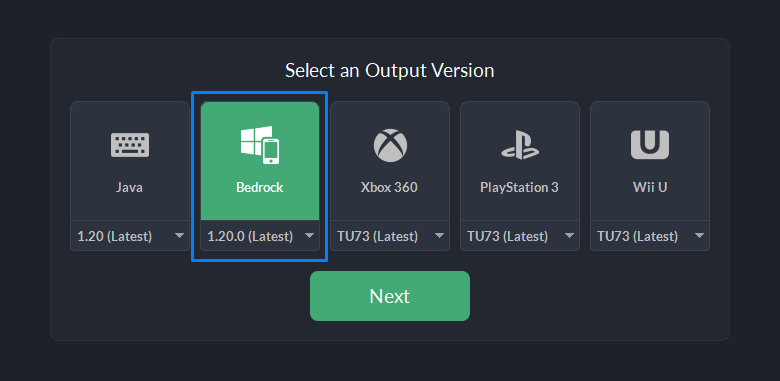
You'll notice a drop-down menu for selecting different target versions. This can be useful if you're trying to get more advanced with your world conversion, but for most cases you'll want to leave it on the latest version.
For reference: Minecraft PlayStation 3 edition never made it past 1.6.0 Bedrock equivalent.
Click Next to continue.
Step 3: Conversion Options
This panel allows you to control certain technical aspects of how the conversion should run. Thankfully, for PS3 to Bedrock conversion you'll usually want to leave these at their default values.
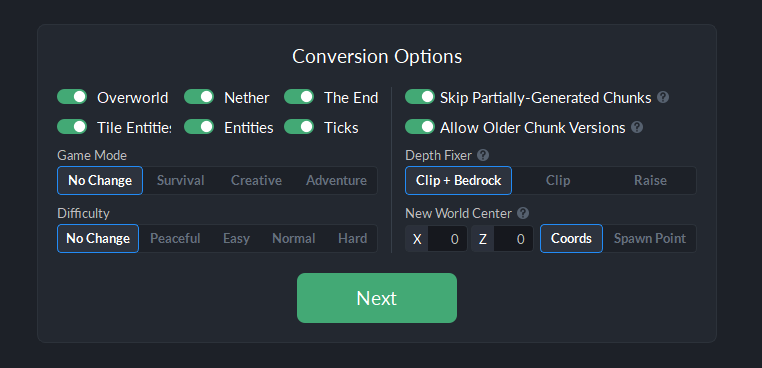
One very important setting you'll likely want to keep enabled is the Allow Older Chunk Versions feature. It is crucial to ensuring you don't have any holes or empty spots in your world.
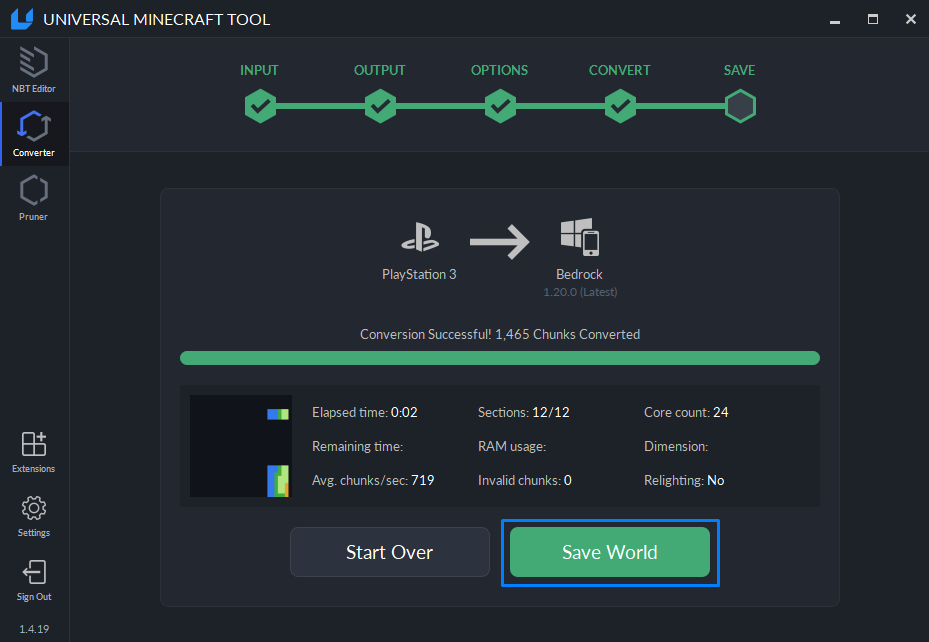
Step 4: Convert
It's the big moment!
Click Start Conversion to begin.
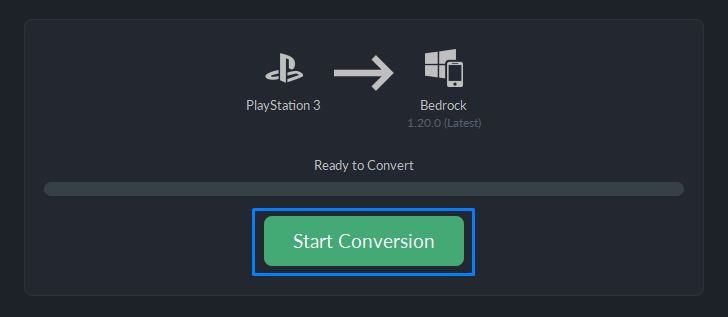
The UMT will now scan the input world and perform all the necessary conversion steps to create a super-accurate clone of your world for Bedrock edition.
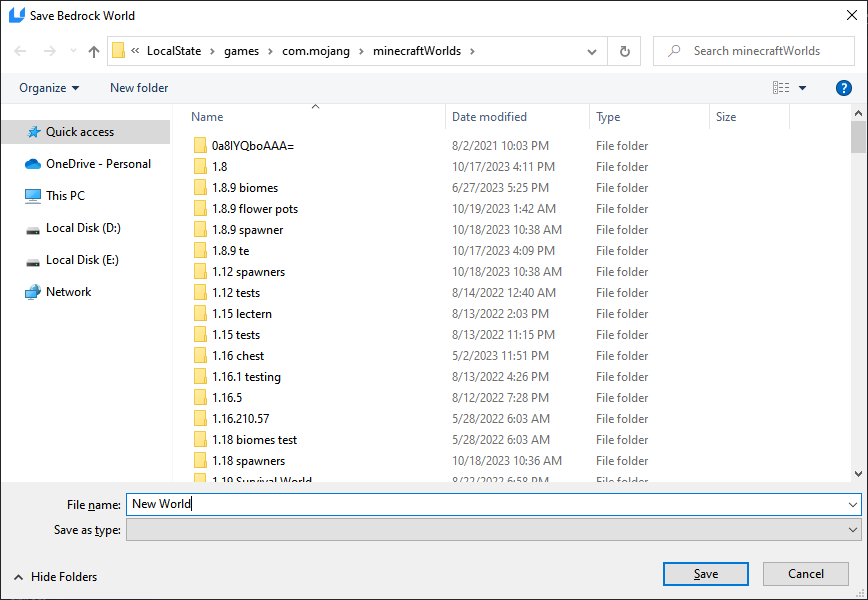
Step 5: Save the Bedrock World
After conversion, pick a spot to save the output world.
Click Save World to bring up the save window.
If you have Minecraft Windows 10 edition installed, the UMT will default to the install location of your Windows 10 edition worlds. Otherwise, you must pick somewhere else to put it.
Enter a name for the world, and click Save.
Step 6: Transfer and Play
Congratulations! You've successfully converted the world.
Depending on where you play Bedrock edition, you may need to transfer the world to the right platform first. Check out the other platform-specific guides for more info.